

OBS Studio (Open Broadcaster Software) is the go-to tool for professional streamers, podcasters, and content creators worldwide. While most people know OBS for live streaming, its recording capability is equally powerful — giving you raw, high-quality footage you can edit, repurpose, and upload to platforms like YouTube, Instagram, and TikTok.
But one question we hear all the time is: where do OBS save recordings go by default? And more importantly — how do you change that location so you never lose a file again? Let’s walk through it.
How to Save Recordings in OBS Studio
OBS gives you two main actions: “Start Streaming” and “Start Recording”. Many streamers focus on the first and forget the second. But if you’re serious about content creation, recording your streams is essential — it gives you raw material for highlights, VODs, and edited videos.
If you’re new to OBS, check out our complete guide on how to record screen in OBS for a step-by-step walkthrough.
Here’s how to set up your recording preferences properly:
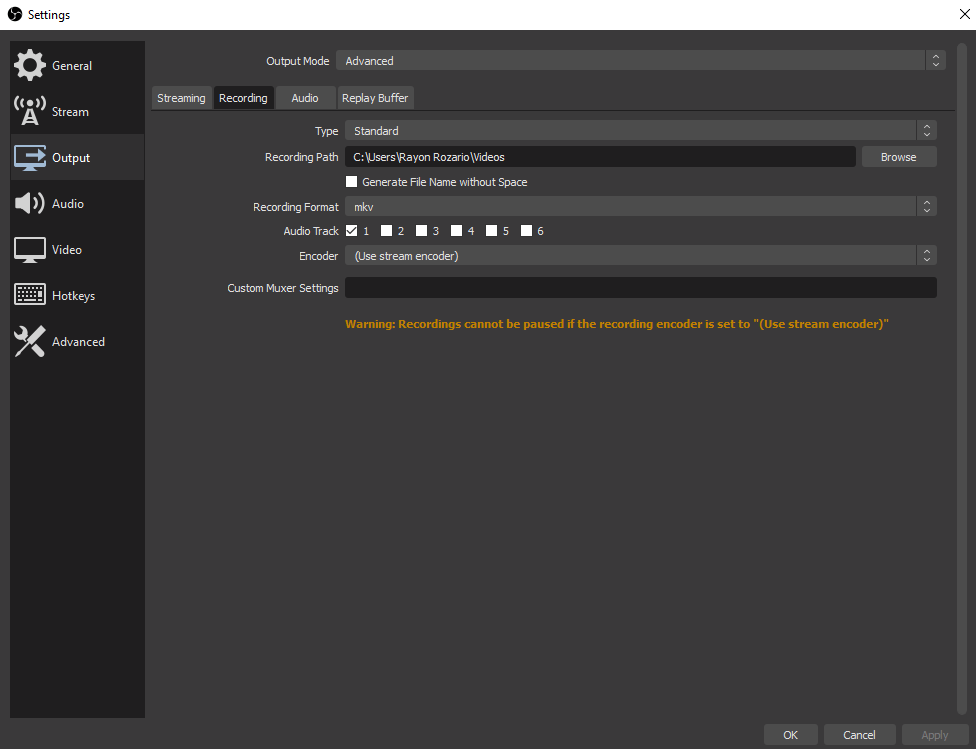
- Open OBS and click “File” → “Settings”.
- Click on the “Output” tab in the left panel.
- In the “Recording” section, you’ll find options for recording quality, format, and — most importantly — the Recording Path.
- Choose your preferred recording quality (Indistinguishable Quality is recommended for most setups) and file format (MP4 is the most compatible, but MKV is safer for crash recovery).
- Head to “Advanced” → “Recording” to customize the filename formatting — useful if you batch-record multiple sessions.
- Click “Apply” then “OK” to save everything.
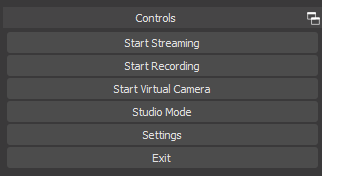
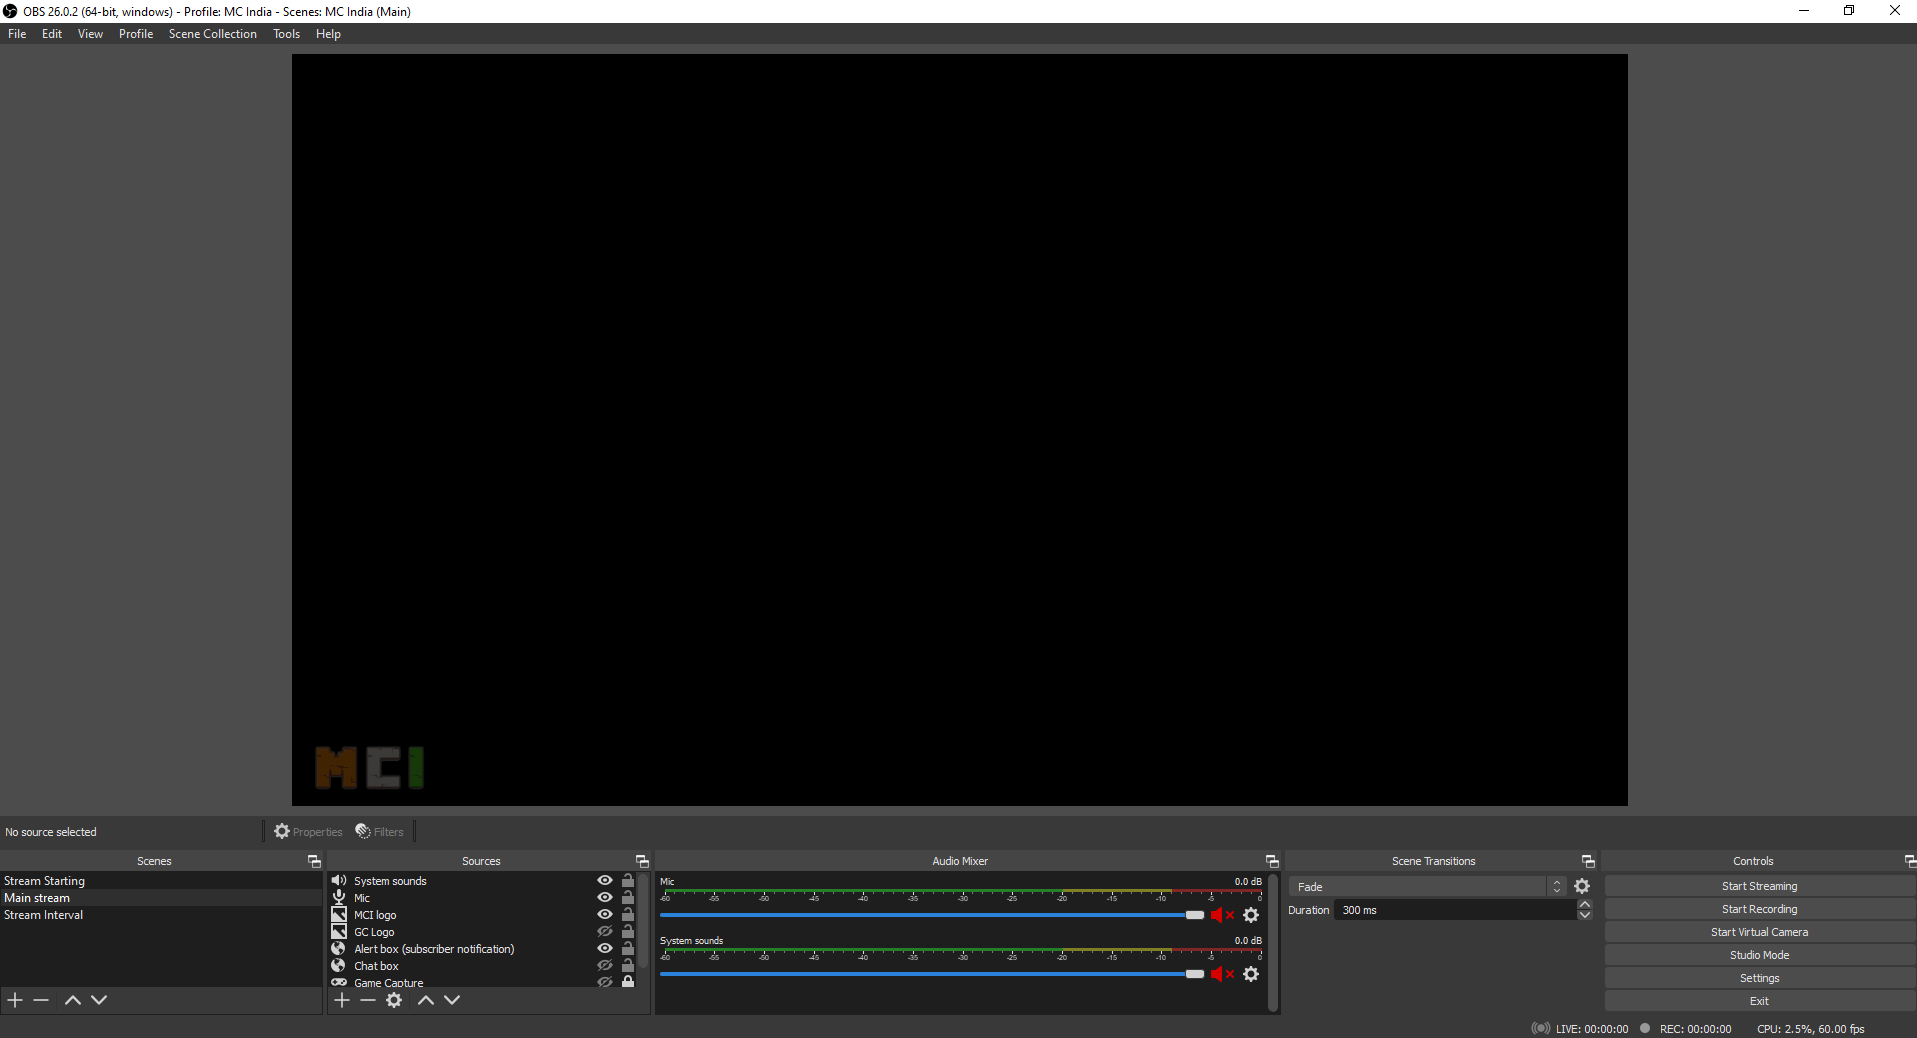
To confirm it’s working, press “Start Recording”. You’ll see “(LIVE + REC)” in the bottom-right corner, confirming both streaming and recording are active.
Where Does OBS Save Recordings by Default?
By default, OBS Studio saves your recordings to the Videos folder inside your user directory:
C:\Users\[Your Username]\Videos
If you installed OBS to a custom directory, recordings may also land in your OBS installation folder. The safest way to find your recordings is to open OBS, go to File → Settings → Output → Recording Path, and check the path listed there.
For more advanced OBS configuration, check out our 12 best OBS Studio tips and tricks — covering hotkeys, scene collections, audio filters, and performance tuning.
How to Change the OBS Recording Save Location
Changing where OBS saves recordings is straightforward:
- Open Settings from the File menu.
- Select the “Output” tab on the left.
- Click the “Browse” button next to Recording Path.
- Navigate to your desired folder (or create a new one).
- Click “Select Folder” then “Apply”.
Pro tip: Avoid saving recordings on your system drive (usually C:). Instead, use a dedicated external SSD or secondary hard drive. This keeps your OS drive from filling up and gives you faster transfer speeds when editing.
If you’re looking to expand OBS functionality, our top 5 must-have OBS Studio plugins guide covers plugins that can enhance your recording workflow significantly.
What to Do With Your OBS Recordings
Once you know where OBS saves recordings and how to manage them, here’s what you can create:
- YouTube highlights & montages — Turn your best stream moments into polished videos that reach a wider audience.
- Gameplay analysis (VOD review) — Rewatch your own gameplay to identify mistakes and improve. This is especially popular in competitive titles.
- Promotional trailers — Use raw clips to create teasers for upcoming streams or events.
- Backup copies — Save your original, unedited recordings as a backup in case platform-hosted streams get taken down or edited.
- Multi-platform publishing — Post edited clips to Instagram Reels, TikTok, YouTube Shorts, and Twitter to grow your audience across channels.
If you’re deciding between streaming tools, our Streamlabs vs OBS comparison breaks down which platform suits your recording and streaming needs best.
Managing Recording Storage Space
OBS recordings can eat up disk space fast — especially at higher bitrates and longer durations. Here are a few storage tips:
- Use a dedicated external SSD (at least 500GB) for recordings. Modern SSDs like Samsung T7 or SanDisk Extreme offer fast enough write speeds for 1080p and 4K recordings.
- Set up automatic file management — Periodically move finished recordings to a NAS or cloud storage.
- Choose the right recording format — MP4 with H.264 gives good quality at manageable file sizes. For maximum quality with editing flexibility, use MKV with lossless or near-lossless settings.
FAQ
Can I change the OBS recording format?
Yes. Go to Settings → Output → Recording → Recording Format and choose from MP4, MKV, MOV, FLV, TS, or custom FFmpeg presets.
Why can’t I find my OBS recordings?
Check the Recording Path in Settings → Output → Recording. If it’s blank or set to a removed drive, OBS may fail to save or save to an unexpected location.
Does OBS save recordings while streaming?
Yes. When you click “Start Recording” while streaming, OBS saves a local copy of everything being broadcast. Look for the “(LIVE + REC)” indicator.
Last updated: June 2026