

Windows 10 is still one of the most popular gaming operating systems in 2026, even after Microsoft ended mainstream support in October 2025. The good news is that a few smart tweaks can noticeably improve FPS, load times, and stability without spending a cent on new hardware.
- Keep Windows and GPU Drivers Updated
- Turn On Game Mode and the Game Bar
- Use the High Performance or Ultimate Power Plan
- Trim Visual Effects on Older PCs
- Stop Background Apps and Startup Bloat
- Prevent Steam Auto-Updates During Gameplay
- Disable Nagle’s Algorithm for Lower Ping
- Move Games to an SSD and Keep Free Space
- Enable Hardware-Accelerated GPU Scheduling
- Should You Upgrade to Windows 11?
- FAQ
- Conclusion
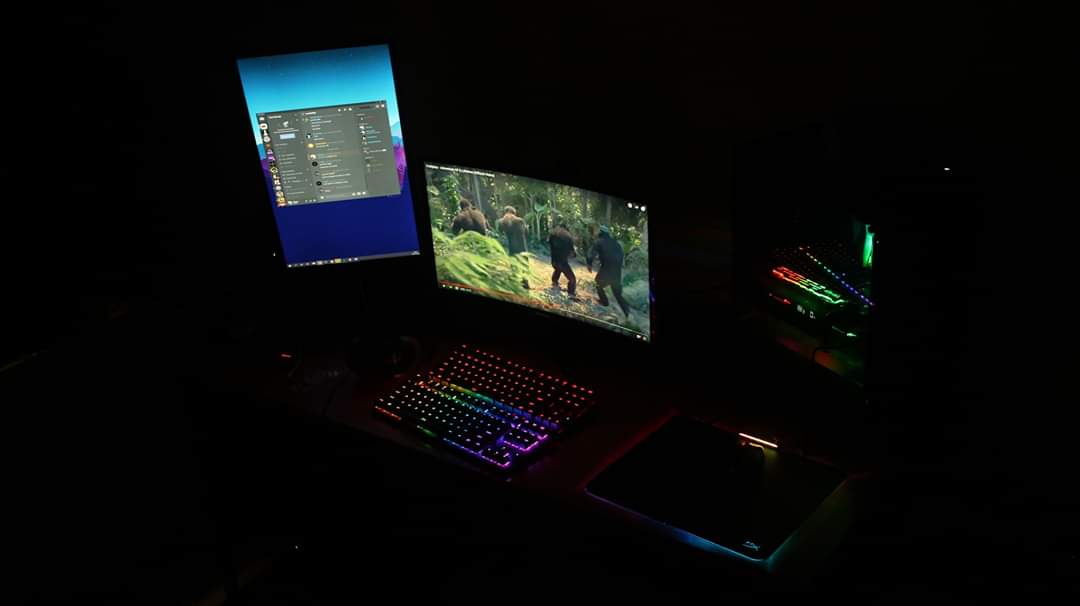
In this guide, we walk through the best Windows 10 optimization tips for gaming, from built-in settings to registry tweaks. These steps work on both new builds and older rigs that need a second wind.
Keep Windows and GPU Drivers Updated
Driver updates are the single most effective optimization you can do. Even a powerful graphics card will stutter or crash if it is running an outdated driver.
Windows 10 reached end of support in October 2025, but it still receives Extended Security Updates (ESU) for a fee, so keep Windows Update running. For your GPU, use the NVIDIA App (which replaced GeForce Experience in 2025), AMD Adrenalin, or Intel Arc software to install the latest drivers automatically.
- Open Settings and go to Update and Security.
- Click Windows Update and then Check for updates.
- Install all pending updates and restart your PC.
- Open your GPU software and update the graphics driver to the latest version.
Turn On Game Mode and the Game Bar
Windows Game Mode prioritizes CPU and GPU resources for your active game. It stops background processes from stealing performance while you play.
- Open Settings and go to Gaming.
- Select Game Mode and set the toggle to On.
- Press Windows + G during a game to open the Game Bar and check your FPS.
The Game Bar overlay lets you pin an FPS counter, record clips, and take screenshots without third-party tools. It is a lightweight way to monitor performance in real time.
Use the High Performance or Ultimate Power Plan
Windows can throttle your CPU to save power, which hurts frame rates. Switching to a performance power plan removes that limit.
- Open Settings and go to System.
- Select Power and Sleep and click Additional power settings.
- Choose High Performance, or run
powercfg -duplicatescheme e9a42b02-d5df-448d-aa00-03f14749eb61in an admin terminal to unlock Ultimate Performance.
On laptops, only use these plans while plugged in. The performance gain is small on desktops with modern CPUs, but every bit helps in CPU-heavy titles.
Trim Visual Effects on Older PCs
Fancy animations and transparency effects consume resources that could go to your game. Disabling them is one of the fastest wins for weaker systems.
- Type Advanced system settings in the search box and open it.
- Go to the Advanced tab and click Settings under Performance.
- Select Adjust for best performance and click Apply.
You can keep a few effects like smooth fonts if you prefer the look. The main goal is to free up CPU and memory for the game itself.
Stop Background Apps and Startup Bloat
Apps that launch at startup and run in the background eat RAM and disk speed. Clearing them out speeds up boot times and reduces stutters.
- Press Ctrl + Shift + Esc to open Task Manager.
- Go to the Startup tab and disable anything you do not need.
- Open Settings > Privacy > Background apps and turn off background access for apps you rarely use.
Game launchers like Steam, Epic, and Discord are common culprits. Keep the ones you actually use, and close the rest before a long session.
Prevent Steam Auto-Updates During Gameplay
Steam loves to download updates for your whole library, which can eat bandwidth and disk speed mid-game. A quick settings change fixes that.
- Open the Steam client and go to Settings.
- Select Downloads and uncheck Allow downloads during gameplay.
- For individual games, right-click the title, open Properties, and set updates to Only update this game when I launch it.
This stops large patches from hogging your connection while you are in a match. You can still trigger updates manually whenever you are ready.
Disable Nagle’s Algorithm for Lower Ping
Nagle’s Algorithm bundles small network packets to reduce overhead, but it can add latency in online games. Disabling it can smooth out competitive play.
- Type Regedit in the search box and open the Registry Editor.
- Navigate to HKEY_LOCAL_MACHINE\SYSTEM\CurrentControlSet\Services\Tcpip\Parameters\Interfaces.
- Find the interface that matches your active network adapter using the DhcpIPAddress value.
- Right-click, choose New > DWORD (32-bit) Value, and create TCPNoDelay.
- Double-click it and set the value to 1, then restart your PC.
Be careful when editing the registry, and back it up first. If anything feels wrong, delete the new value and restart to undo the change.
Move Games to an SSD and Keep Free Space
An SSD is the biggest hardware upgrade you can make for load times. Modern titles stream assets from disk constantly, so a slow drive causes pop-in and hitches.
Install Windows and your most-played games on the SSD, and keep at least 15 percent of the drive free. If your C drive is full, check out our guide on how to increase C drive space on Windows 10 to reclaim room without deleting anything important.
Enable Hardware-Accelerated GPU Scheduling
Hardware-accelerated GPU scheduling lets your graphics card manage its own memory, which can lower latency in some games. It is a toggle worth testing.
- Open Settings > System > Display.
- Scroll down and click Graphics, then Default graphics settings.
- Turn on Hardware-accelerated GPU scheduling and restart.
Results vary by GPU and game, so benchmark before and after. If you see no gain or hit instability, simply turn it back off.
Should You Upgrade to Windows 11?
Windows 10 still runs the vast majority of games in 2026, but some newer titles and features are increasingly Windows 11-first. DirectStorage, Auto HDR, and continued security patches are the main draws.
If your PC meets the requirements, our Windows 11 cheat sheet covers everything you need to know before making the switch. If you already upgraded and miss Windows 10, we also explain how to downgrade from Windows 11 to Windows 10.
FAQ
Is it worth optimizing Windows 10 for gaming in 2026?
Yes. Even after end of support, Windows 10 is stable and widely used by gamers. The tweaks above are free, safe, and can improve FPS and load times on most systems.
Does Game Mode actually boost FPS?
It helps most on systems with limited CPU cores by prioritizing the game over background tasks. On high-end rigs the gain is small, but it never hurts to leave it on.
Will these tips work on a gaming laptop?
Most of them will, but keep laptops plugged in when using a performance power plan. Laptop cooling is limited, so also check your thermals; our guide on fixing CPU fan errors on boot can help if your machine runs hot.
Conclusion
You do not need a new PC to get better gaming performance on Windows 10. Start with driver updates and Game Mode, then work through the power plan, visual effects, and background apps.
Once your system is tuned, try benchmarking your favorite games before and after each change. Every small optimization adds up to a smoother, more responsive setup.