
The WindowsApps folder is one of Windows 10’s most protected system directories. It stores all the files for apps downloaded from the Microsoft Store and other UWP (Universal Windows Platform) applications. By default, this folder is hidden and locked to prevent accidental modification. However, there are legitimate reasons to access it — such as reclaiming disk space from leftover app files that survive uninstalls.
In this guide, we will walk you through what the WindowsApps folder is, why it is locked, and two reliable methods to gain access to it on Windows 10.
What Is the WindowsApps Folder?
The WindowsApps folder is a system directory that houses all UWP application packages on your PC. Each app installed from the Microsoft Store gets its own subfolder inside this directory. The folder also stores data for pre-installed Windows apps and certain third-party software that uses the UWP framework.
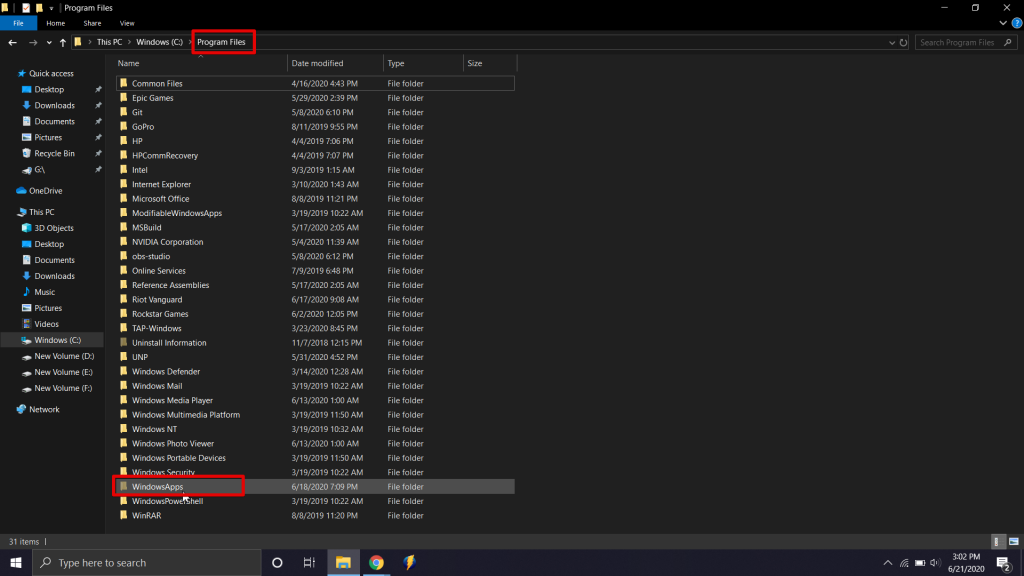
If Windows is installed on your C: drive, the folder is located at C:\Program Files\WindowsApps. The folder is assigned special permissions that restrict access to the TrustedInstaller account by default. This prevents users and even standard administrator accounts from viewing or modifying its contents without explicit permission changes.
Over time, the WindowsApps folder can grow to several gigabytes. Even after you uninstall an application, leftover files sometimes remain inside this folder. Accessing it lets you clean up those orphaned files and free up valuable disk space.
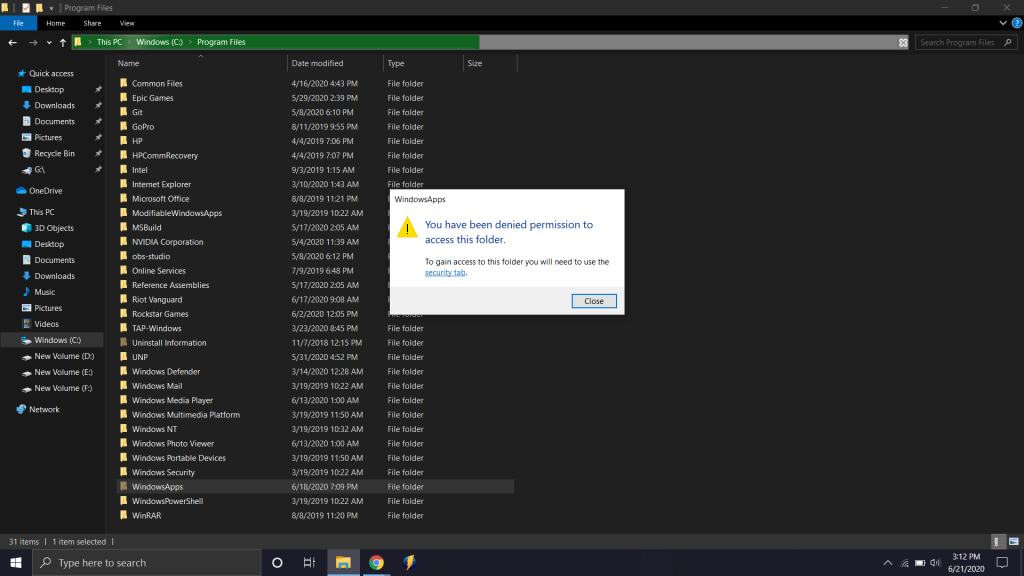
When you try to open the folder without the right permissions, Windows displays an access denied error. This is a security feature designed to protect system files from accidental deletion or modification.

If you click Continue on the error prompt, you will still be blocked because your user account does not have the required ownership of the folder.
Method 1: Manually Take Ownership of the WindowsApps Folder
This method involves changing the folder ownership and permissions through the Windows security settings. It takes a few minutes but gives you full control without installing any third-party tools.
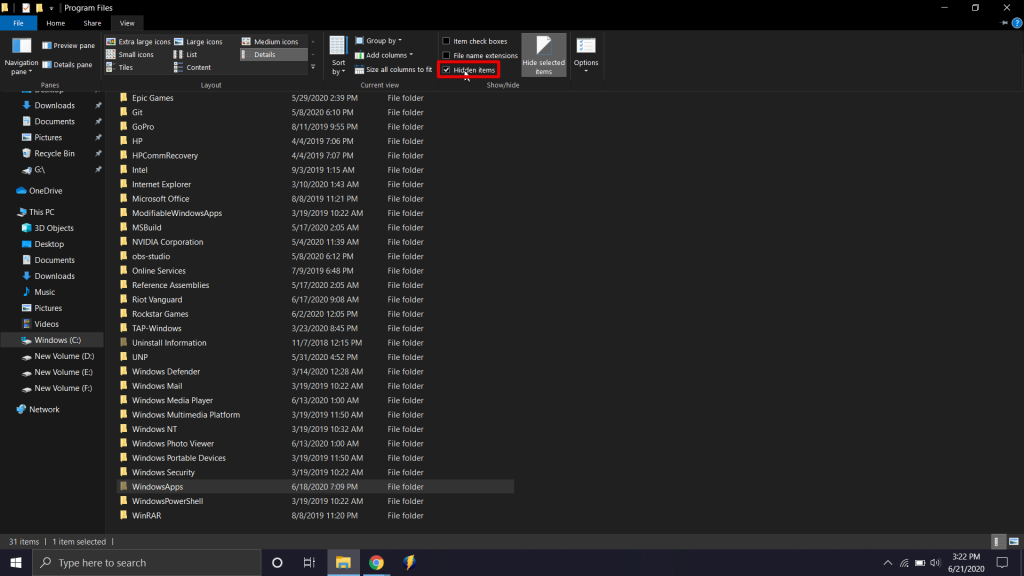
Step 1: Open File Explorer and navigate to C:\Program Files. Click the View tab at the top and check the Hidden items box. The WindowsApps folder will now appear as a semi-transparent icon.
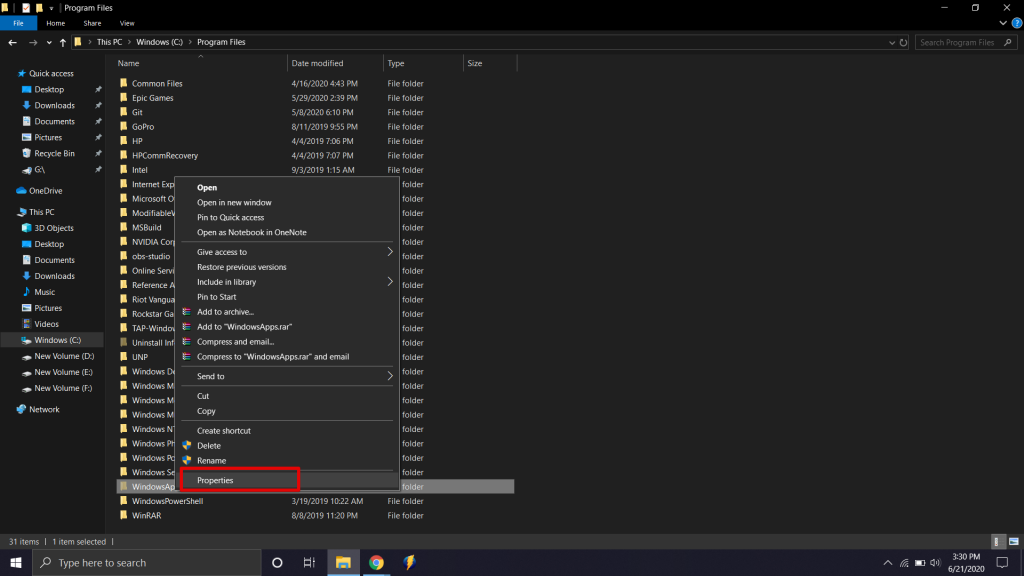
Step 2: Right-click the WindowsApps folder and select Properties from the context menu.
Step 3: Go to the Security tab and click the Advanced button at the bottom of the window.

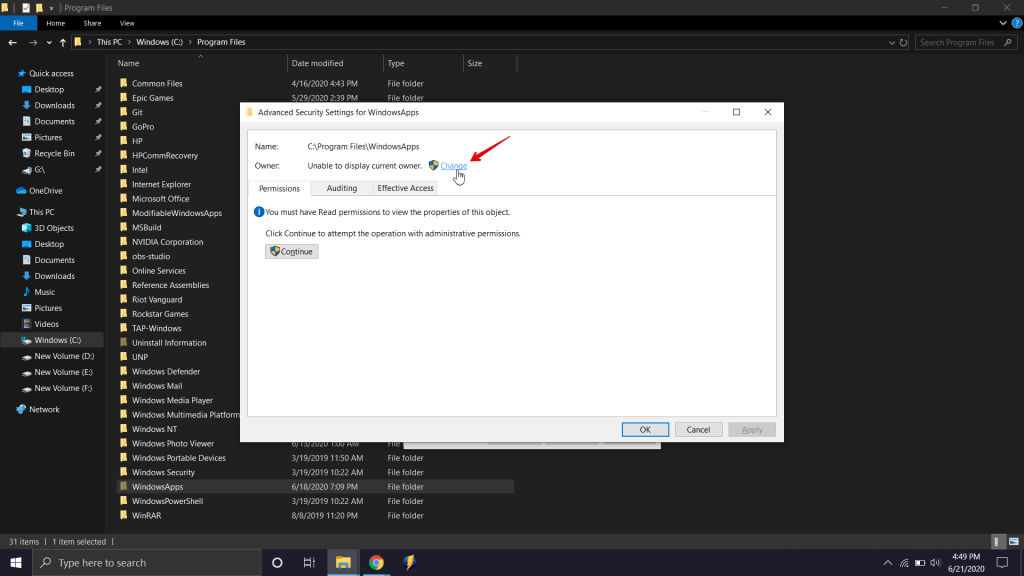
Step 4: In the Advanced Security Settings window, click the Change link next to the Owner field. A UAC (User Access Control) prompt may appear — click Yes to proceed.
Step 5: The Select User or Group window will open. Enter your administrator username in the text box and click Check Names. Windows will automatically verify and complete the entry. Click OK to confirm.

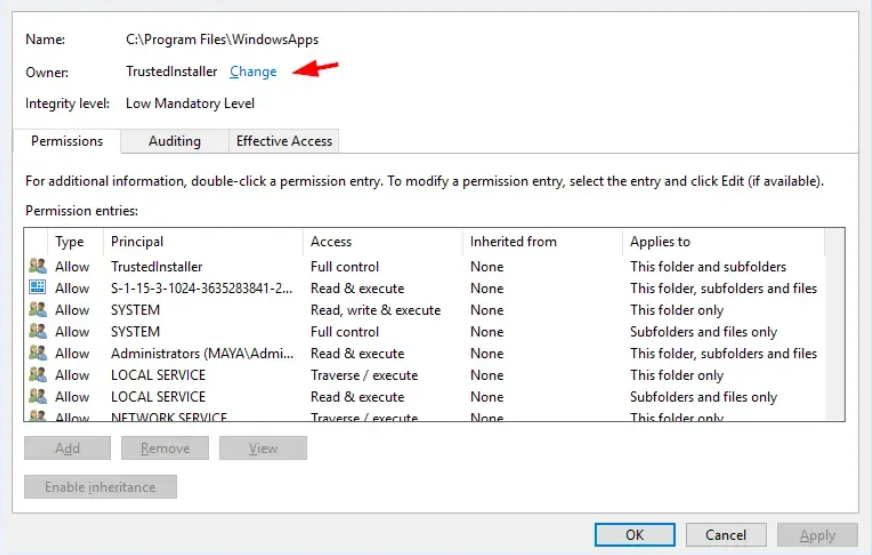
Step 6: Back in the Advanced Security Settings window, you will see the current owner listed as TrustedInstaller. Click the Change link next to it again to switch ownership to your account.
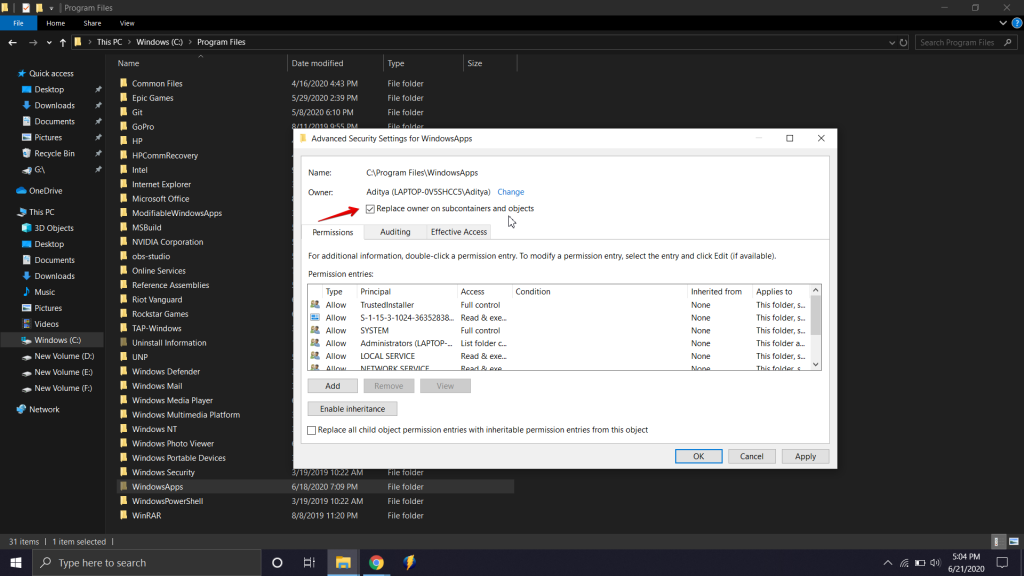
Step 7: Make sure the Replace owner on subcontainers and objects checkbox is selected. This ensures you gain full access to all files and subfolders inside WindowsApps. Click OK to apply the changes.
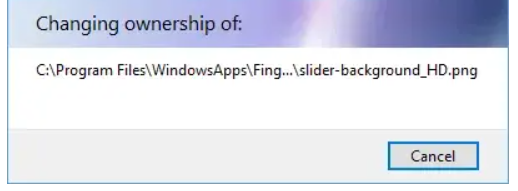
Step 8: Windows will now update the permissions for all files and folders inside WindowsApps. This process may take a minute or two depending on the size of the folder. A Changing Ownership dialog will show the progress.
Step 9: Once the process completes, you will have full administrator access to the WindowsApps folder. You can now open it, browse its contents, and delete any leftover files from uninstalled applications.

Method 2: Use a Third-Party Registry Hack
If the manual method seems too involved, you can use a free registry hack that adds a Take Ownership option to your right-click context menu. This method accomplishes the same result in just a few clicks.
Step 1: Download the Take Ownership Registry Hack.
Step 2: Extract the ZIP file and double-click InstallTakeOwnership.reg. Follow the on-screen prompts to add the registry entries.
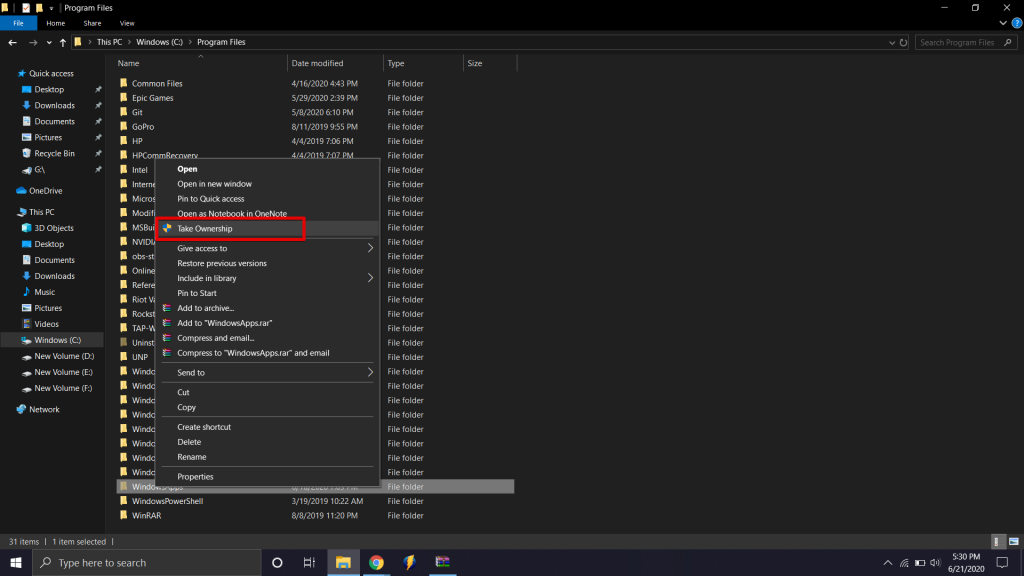
Step 3: Navigate to the WindowsApps folder at C:\Program Files\WindowsApps (enable hidden items in the View tab if you cannot see it). Right-click the folder and select Take Ownership from the context menu.

Step 4: A PowerShell window will open and run the ownership change automatically. Once it finishes, you can access the WindowsApps folder just like any other directory on your system.
Final Thoughts
Both methods described above give you full access to the WindowsApps folder on Windows 10. The manual method is safer and does not require any third-party downloads, while the registry hack is faster if you are comfortable using community-sourced scripts.
Once you have access, you can clean up orphaned app files, check the size of individual app folders, and reclaim disk space. Just be careful not to delete files belonging to apps you still use — doing so could cause those applications to malfunction.
If you are running Windows 11, check out our guide on fixing stuck Windows 11 updates for similar system-level troubleshooting. For other common Windows issues, we also have a guide on how to fix the CPU fan error on boot. And if you need to record your screen for a tutorial like this one, see our walkthrough on how to record your screen in OBS.